How to DIY a Wooden Riser Display


Disclosure: This post may contain affiliate links · This blog generates income via ads.
Looking for a way to display your decor pieces with more height — or a useful charcuterie board? In this post, I’ll show you how to make these simple wooden risers.
Wooden risers are useful, versatile decor pieces. They come in all shapes and sizes — it’s up to your imagination.
Supplies and tools
- A saw (I used a miter saw)
- Lumber (I used scrap framing lumber)
- Pocket hole jig (I use a Kreg Jig 520PRO)
- Drill
- Pocket hole screws
- Clamp
- Wood glue (I used Liquid Nails)
- Wood filler (optional — I used DAP Plastic Wood)
- Sandpaper, assorted grits (a sander is optional — I used the Ryobi One+ 18V Brushless Multi-Tool)
- Measuring tape
- Pencil
- Eye protection
- Latex or nitrile gloves
- Cloth or lint-free rags
- Synthetic bristle brush
- Wood stain (I used Flagstone and Kona by Varathane)
- Sealant (I used a clear satin polyurethane by Varathane)
The wood

These are scraps of wood I had lying around from our chicken coop project a few years ago.
I made two wooden risers, and I’m sharing both sets of measurements:
- The larger wooden riser: two 2×6 boards cut down to 12″.
- The smaller wooden riser: one 2×4 and one 2×6, cut down to 8″.
- For the feet, I split a piece of 2×4 in half lengthwise. That gave me two sets of feet at different heights: one set of 2×2 squares and one set of 2×3 pieces. I used the shorter feet on the large riser and the taller feet on the smaller one. If you prefer fancier-looking legs, you can buy legs or pegs instead.
- The sandpaper grits I used were 80, 150, and 220. Choose your grit based on the condition of your wood.
- Sanding can be done after you attach the pieces, if you prefer.
- Next, the pocket holes. I used a Kreg Jig to drill them, along with Kreg pocket hole screws (size 2-1/2″ / 64 mm) — follow the pocket hole screw chart for your wood thickness.
- Drill two pocket holes in one of the 12″ 2×6 boards to attach it to the second 12″ 2×6.
- For the smaller riser, drill two pocket holes in the 8″ 2×6 to attach it to the 8″ 2×4.
- Now drill the boards together.
- Attach the feet with Liquid Nails.


I used wood filler to seal the gap between the boards on the smaller riser. This step is completely optional — I didn’t fill the gap on the larger riser, and I like the look of both.


Staining and sealing


This is where I got a little creative.
Using the Varathane stains in Flagstone and Kona, I stained both risers. To keep the knots and edges of the lumber darker, I applied Kona where I saw fit. Once the Kona dried, I went over the entire piece with Flagstone. (Follow the instructions on the can.)
I applied the stain with a lint-free cloth — an old t-shirt works — and wiped off the excess with a second cloth. For a deeper shade, apply a second coat, or as many as your project needs.
The next day, I sealed both risers with clear satin Varathane polyurethane. And that’s it.


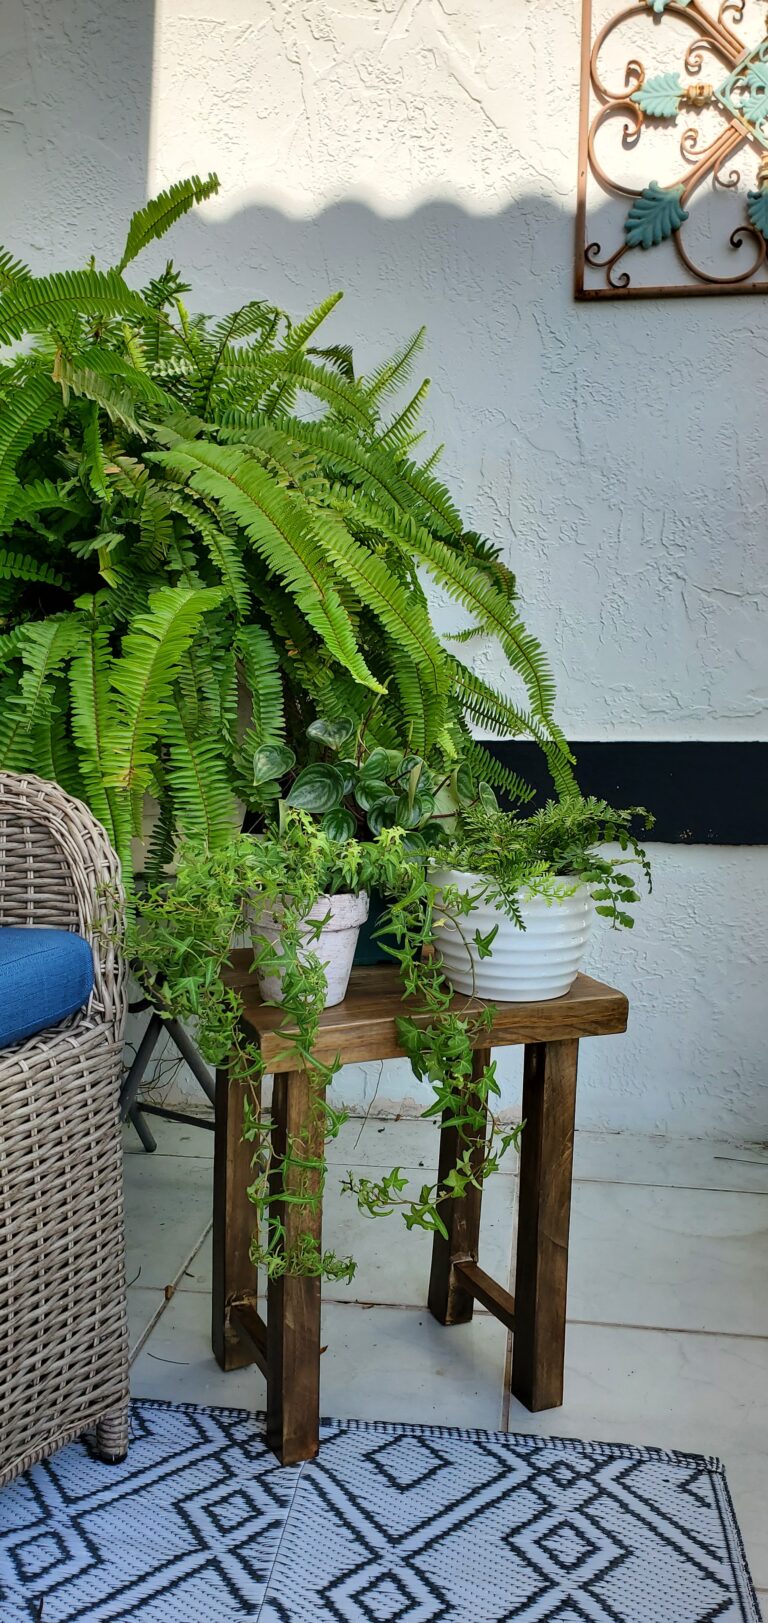
These get the most use when I’m shopping my own home to refresh a room without buying anything new.
Join Letters from Lola
New posts and seasonal ideas from my Miami home, delivered to your inbox.