The Correct Order to Decorate a Christmas Tree
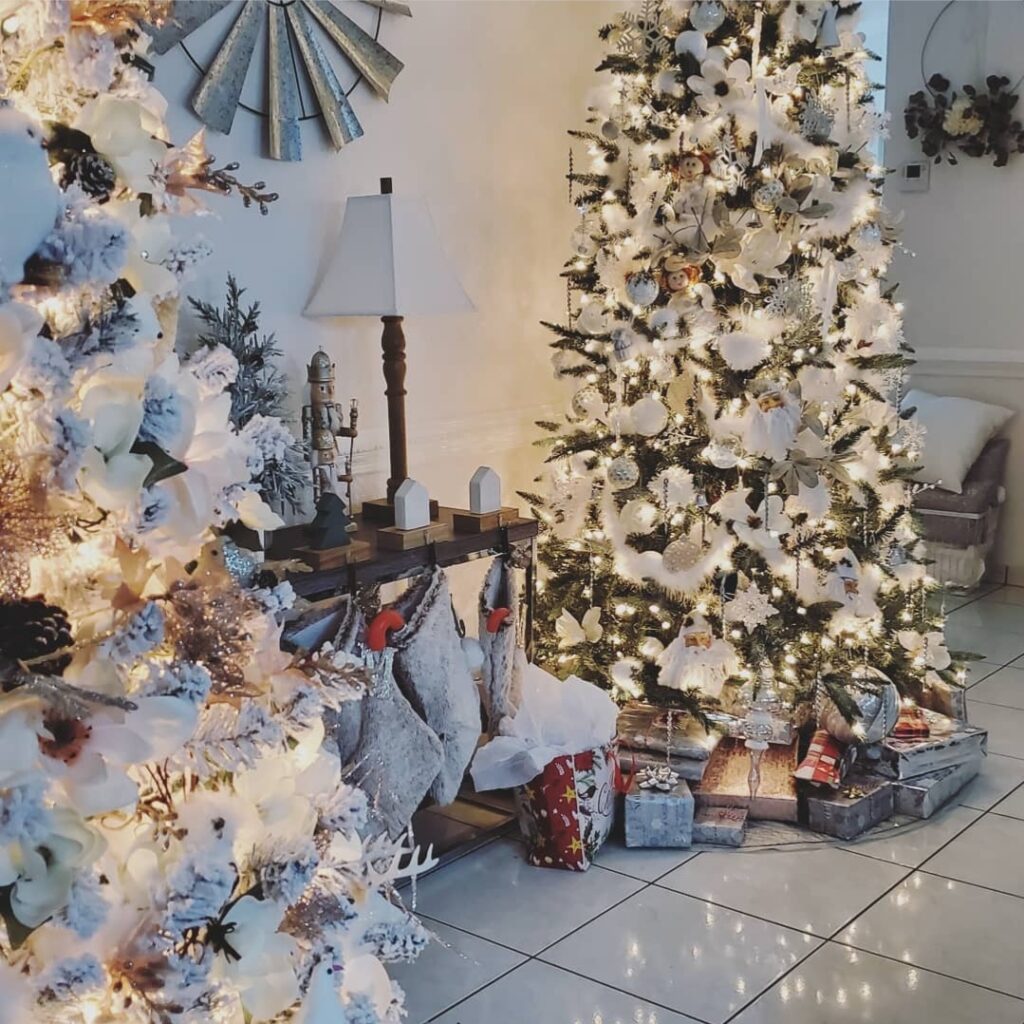
There is a right order to decorate a Christmas tree, and it matters more than most people think. Decorate out of sequence and the details you worked hardest on end up buried. I’ve been decorating Christmas trees for years, and this is the order I follow every time.
Setting up the Christmas tree
Set the tree up first — a few days before you plan to decorate, if you can, so it has time to air out. Then fluff every single branch and stem. It sounds tedious, but put on some Christmas music and work through it; you’ll be glad you didn’t skip this step.
I prefer artificial trees for a practical reason: I’m allergic to the mold spores found on live Christmas trees. If you prefer a live tree, that’s fine — you can follow most of these same steps.
I also prefer pre-lit trees. If yours isn’t pre-lit, now is when you add the lights. Wrap every branch and stem for the fullest result.
Add the topper — before the ornaments
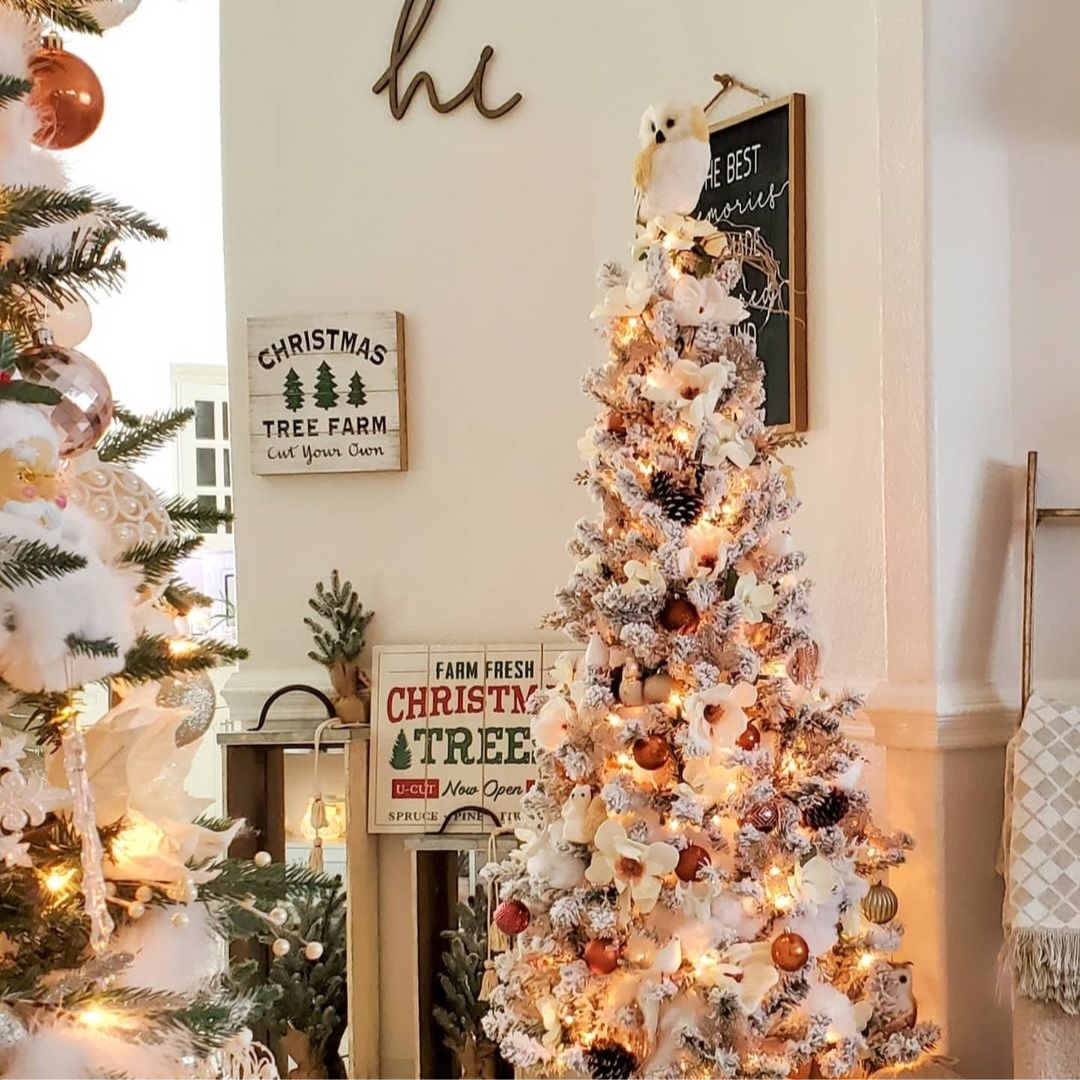
Most Christmas movies show the topper going on at the very end. I don’t take that chance. The topper goes on before any decorations, while the top of the tree is still easy to reach and I can adjust it without knocking ornaments off.
Before you add anything else, verify that all your lights are working — including the topper, if it’s a lit one.
https://www.liketoknow.it/LolaMojica
Organize your supplies
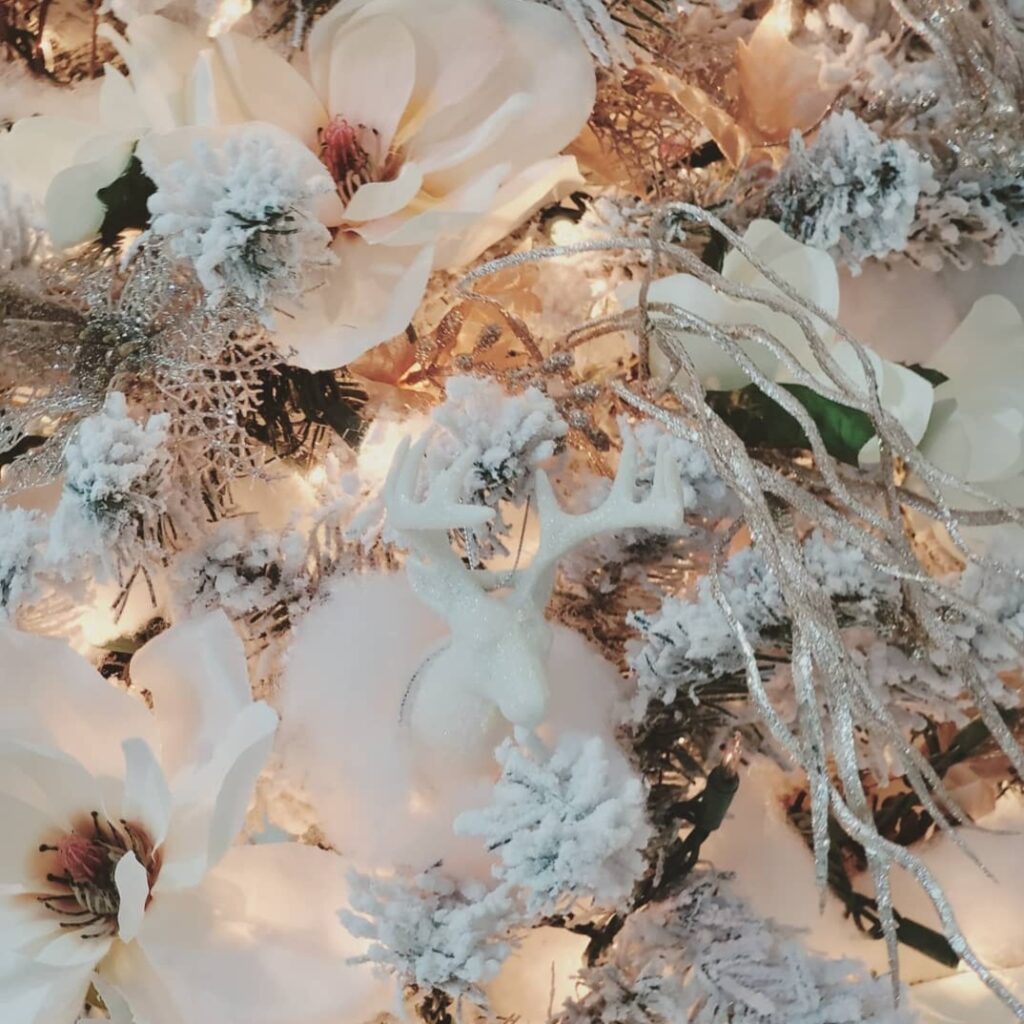
Gather your picks, sprays, ornaments, ribbon, tinsel, and buffalo snow (optional). Sort your ornaments by size and style — for example, if you have five medium reindeer, group those five together. Do the same with your picks and sprays.
Fluff the picks and sprays before placing them on the tree. Place the larger picks and sprays in the bottom section, the medium ones in the middle, and the smaller ones near the top. If you only have one size, place them deeper into the tree, working toward the top.
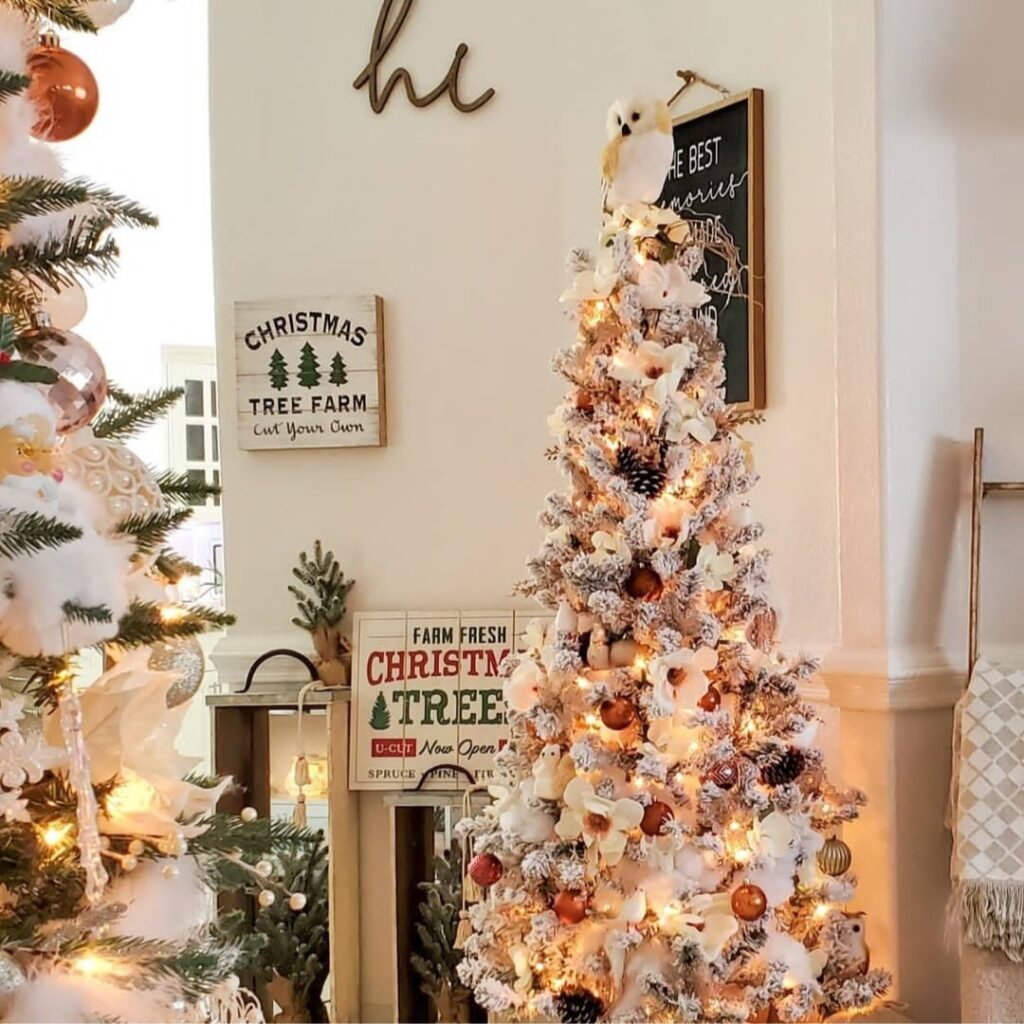
Ribbon, tinsel, and buffalo snow
If you’re using buffalo snow, place it first: fairly large chunks toward the center of the tree, smaller chunks toward the outer branches.
Follow with tinsel. Start at the top for a cascading effect, and weave and loop it through the branches — don’t just lay it on top.
When placing ribbon, use shorter pieces and nestle them within the branches. Shorter pieces give a more woven-in look, and they’re much easier to place.
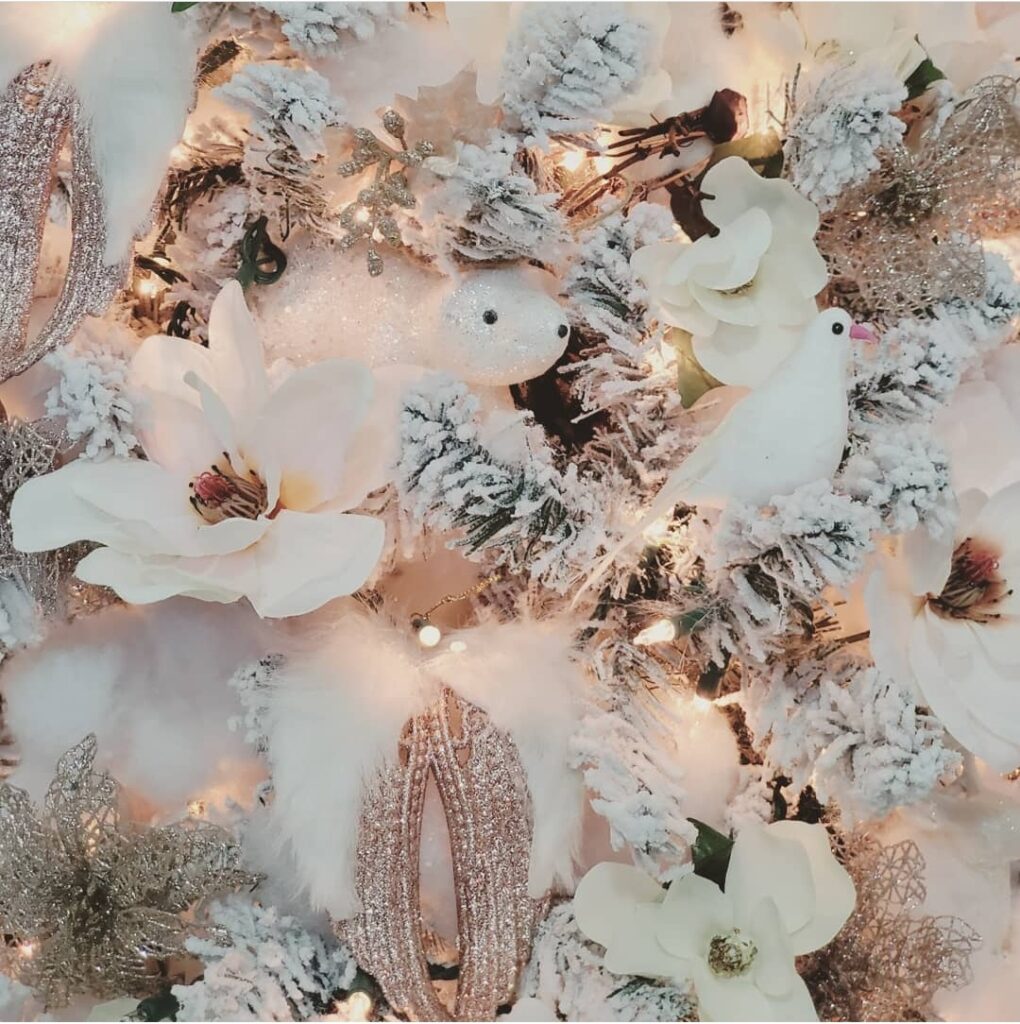
Ornaments
Start with filler ornaments — the simple, round ones. These catch and reflect the light; you should only see glimpses of them. Place the larger fillers toward the bottom and work your way up from large to small. The smaller and medium fillers can go all over the tree, but keep the large ones low.
Then the part you’ve been waiting for: the show-stopper ornaments, trinkets, and flowers. Place these in clusters so the eye gravitates toward them. Remember those five reindeer? Group them near each other. A step formation works well for this. When special ornaments are scattered too far apart, the eye tends to miss them; clustering makes sure they get noticed.
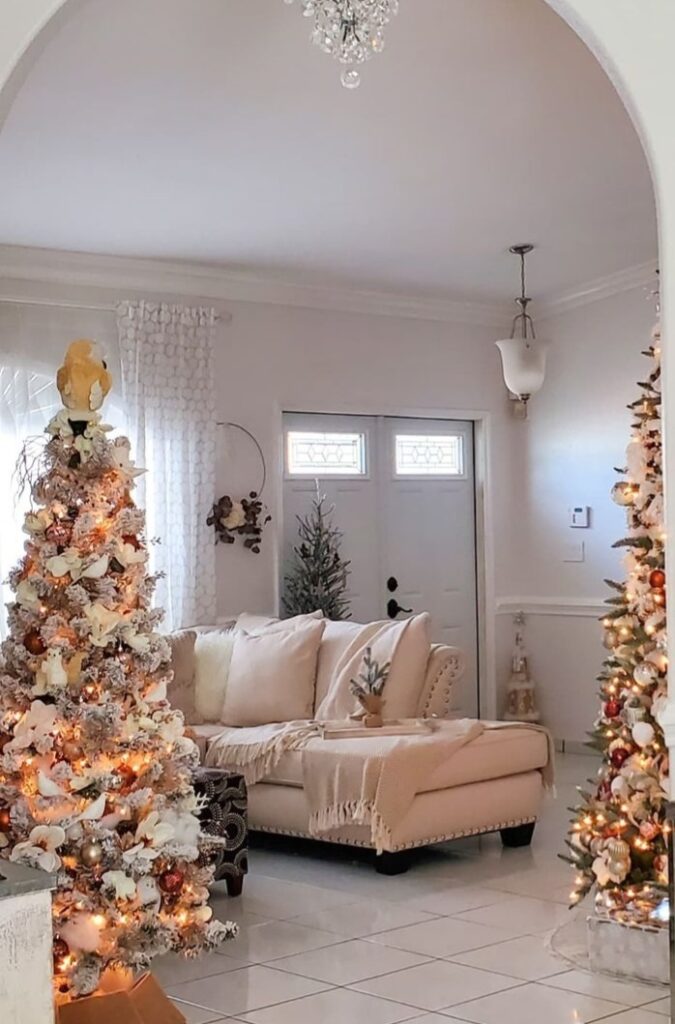
The tree skirt
The last step is the tree skirt — or a basket, tub, wooden box, or throw, whatever fits your style. Decorate underneath the tree if you like, or keep it simple.
Before any of this starts, I plan the whole look first — here’s how I plan my Christmas decor before I even start decorating. I also wrote about adding ribbon or ornaments 1st to your tree you can read that article here.
Plug your tree in and enjoy it.
Join Letters from Lola
New posts and seasonal ideas from my Miami home, delivered to your inbox.